An introduction to frontend development with Spring Boot

Thomas Schühly’s server-side rendering journey started as a developer trying to make life easier while developing his first bootstrapped product in his free time. Creating Spring ViewComponent enabled him to be the youngest Speaker at the largest European Spring conference and build awesome software full-time with his open-source library at alanda.io. He regularly talks at Java User Groups about htmx and server-side rendering with Spring while contributing to the open-source community. PhotoQuest
I've been building my web frontends with Spring Boot for a few years. But I recently heard that some Spring Boot developers still create their web frontend with something else than Spring ?!
But creating a web frontend without leaving your favourite Java Framework is easy!
We go to everyone's 2nd favorite place online: start.spring.io and create a new project.
We will not choose a template language as you can sadly not find the best template language there!
Instead, we go to jte.gg and add the latest spring-boot-starter as a dependency to our project.
implementation("gg.jte:jte-spring-boot-starter-3:3.1.9")
implementation("gg.jte:jte:3.1.9")
We start with a WebController and define our Data model.
We have a Link record which has a displayValue and a hrefValue field.
We also have a SpringResources record which has a topics HashMap field.
@Controller
public class WebController {
  public record Link(String displayValue, String hrefValue) {}

  public record SpringResources(HashMap<String, List<Link>> topics) {}
}
Then we create a JTE template in a new file located in src/main/jte/spring.jte
As JTE is compiled to Java we start by importing the SpringResources record.
JTE expects a parameter of type SpringResources in the model
@import com.bootiful.frontend.web.WebController.SpringResources
@param SpringResources springResources
We use the @for syntax to loop through the hashMap entrySet and show a heading for each key.
@import com.bootiful.frontend.web.WebController.SpringResources
@param SpringResources springResources

@for(var resource: springResources.topics().entrySet())
    <h2>
        ${resource.getKey()}
    </h2>
@endfor
Then we create an <ul> tag for each topic. Then for each link object in the list, we create a <li> tag and a <a> tag with the href set to the hrefValue, and render the displayValue inside the tag.
@import com.bootiful.frontend.web.WebController.SpringResources
@param SpringResources springResources

@for(var resource: springResources.topics().entrySet())
    <h2>
        ${resource.getKey()}
    </h2>
    <ul>
        @for(var link: resource.getValue())
            <li>
                <a href="${link.hrefValue()}">${link.displayValue()}</a>
            </li>
        @endfor
    </ul>
@endfor
Now we add a Controller Endpoint where we add a new SpringResource object to the Model as springResources attribute.
Then we return a spring string which is a reference to the spring.jte template.
@Controller
public class WebController {
  ...
  @GetMapping("/")
  public String index(Model model) {
    model.addAttribute("springResources", new SpringResources(new HashMap<>(
        Map.of("Spring",List.of(
            new Link("Spring","https://spring.io"),
            new Link("Spring Academy","https://spring.academy")
        ))
    )));
    return "spring";
  }
}
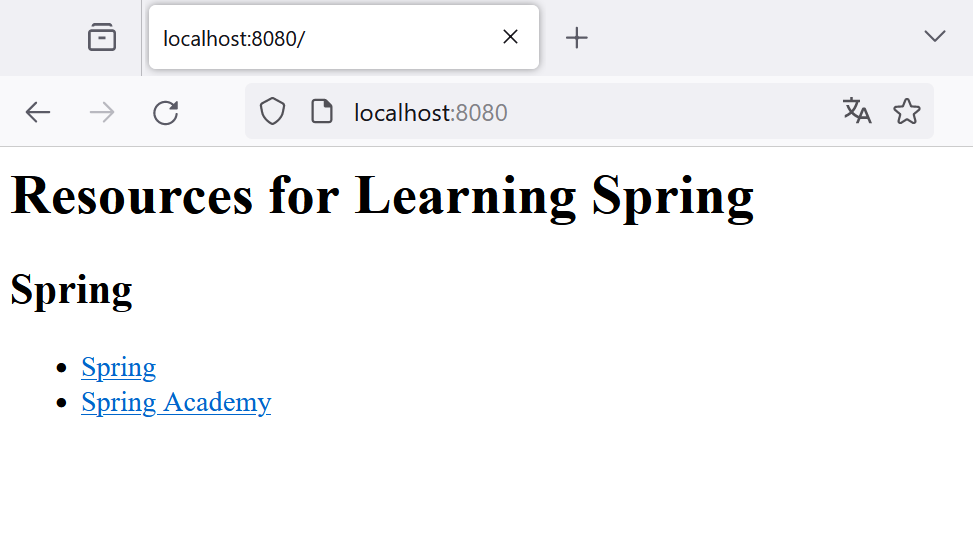
If we now navigate to http://localhost:8080/ you can see that our template is rendered correctly:
You can find the source code for this tutorial here: github.com/tschuehly/bootiful-frontend
If you want to learn more about HTMX + Spring Boot check out my series Web development without the JavaScript headache with Spring + HTMX.
My side business PhotoQuest is also built with HTMX + JTE